NH4-N
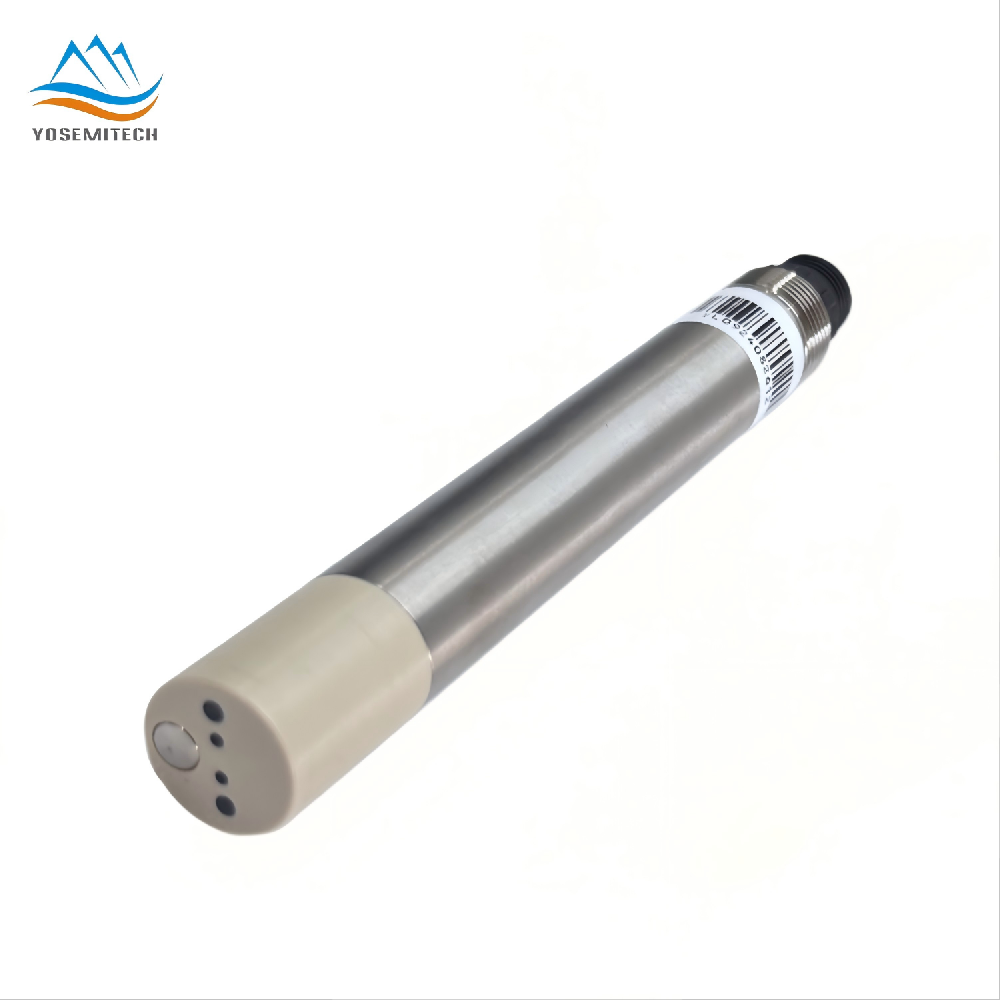
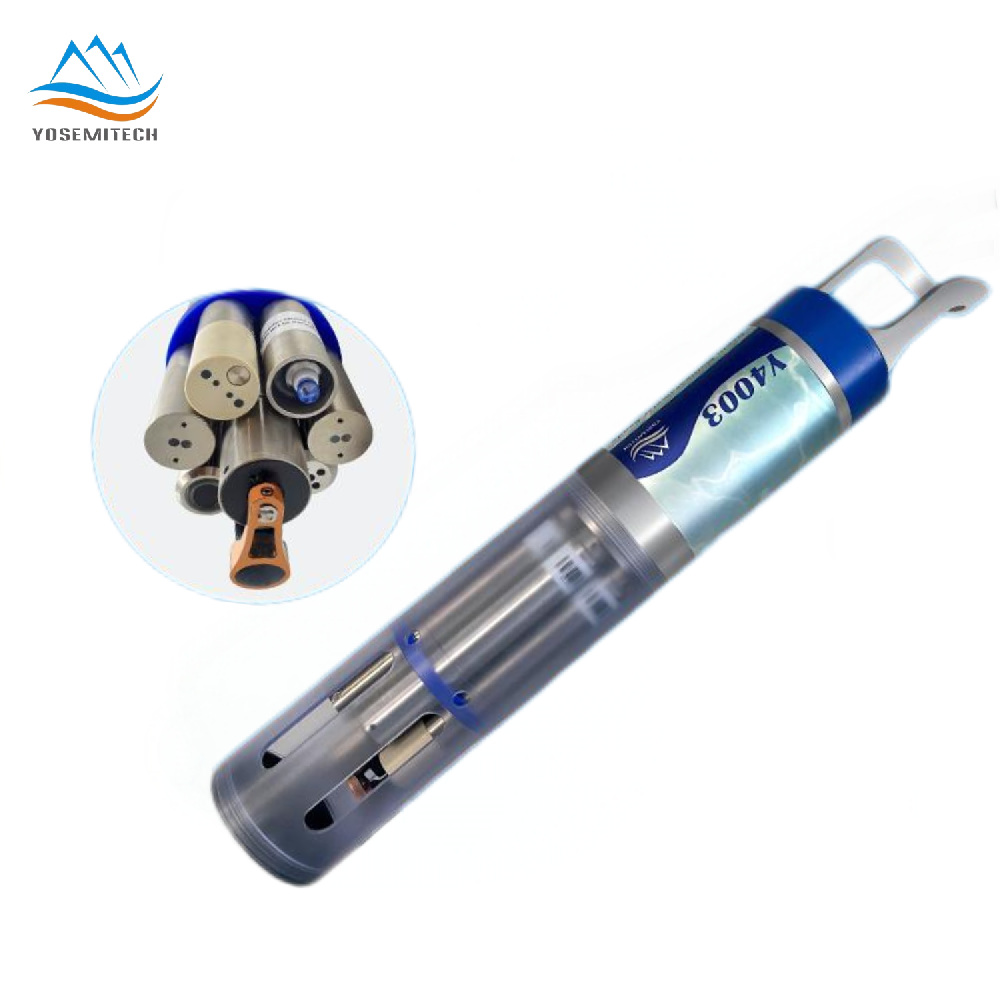
Y560-A self-cleaning ammonia sensor calibration
Writer: admin Time:2023-12-06 13:53:51 Browse:1079℃
Y560-A self-cleaning ammonia sensor calibration
Required equipments and raw materials
Required equipments: three 1000mL beakers, one set of gloves.
Raw materials: 10mg/L ammonium ion electrode standard solution, 100mg/L ammonium ion electrode standard solution and deionized water.

Calibration steps
There are two methods of user calibration for the ammonium ion electrode of the ammonia nitrogen sensor: 1-point calibration and 2-points calibration.
1-point calibration was done in 10mg/L standard solution, 2-points calibration was done in 10mg/L standard solution and 100mg/L standard solution.
1-point calibration step (change the K value)

Step 1: put an appropriate amount of 10mg/L ammonium ion electrode standard solution into a 250mL beaker, add an ionic regulator solution in the corresponding proportion (2% of the total amount of solution).
Step 2: connect the cable to the sensor, remove the sensor protective cover, remove the protective sleeves of the ammonium ion electrode, pH electrode and reference electrode, and then install the sensor protective cover. Put it into the beaker containing 10mg/L ammonium ion electrode standard solution, and insert the RS485 to USB connector connected to the sensor cable into the computer.
Step 3: open the SmartPC software on the computer, then click “Calibrate”, and click “Get” under the “Manual Calibration” interface to get the initial K and B values of the sensor. Under the “Automatic Calibration” interface, change the “Single/First Point Calibration Value” to 10, click “1 points” to do one-point calibration, wait for the values in the pop-up window to stabilize, and click “OK” to complete the calibration. Click “Get” to check whether the K value is written correctly.
Step 4: click “Start” under the “NH4-N” interface to get the real-time measurement of the pH、NH4+、NH4-N and temperature, check that the NH4+ is close to 10mg/L to verify that the one-point calibration is successful.
2-points calibration step (change the K and B values)

Step 1: put an appropriate amount of 10mg/L ammonium ion electrode standard solution into beaker, add an ionic regulator solution in the corresponding proportion (2% of the total amount of solution). Put an appropriate amount of 100mg/L ammonium ion electrode standard solution into beaker, add an ionic regulator solution in the corresponding proportion (2% of the total amount of solution).
Step 2: connect the cable to the sensor, remove the sensor protective cover, remove the protective sleeves of the ammonium ion electrode, pH electrode and reference electrode, and then install the sensor protective cover. Put it into the beaker containing 10mg/L ammonium ion electrode standard solution, and insert the RS485 to USB connector connected to the sensor cable into the computer.
Step 3: open the SmartPC software on the computer. Under the “Automatic Calibration” interface, change the “Single/First Point Calibration Value” to 10, change the “Second Point Calibration Value” to 100, click “2 points” to do two-points calibration, wait for the values in the pop-up window to stabilize, and click “OK”. Then clean the sensor with distilled water or deionized water, wipe it dry and put it into the beaker containing 100mg/L ammonium ion electrode standard solution, wait for the values in the pop-up window to stabilize, and click “OK” to complete the calibration. Click “Get” to check whether the K and B values are written correctly.
Step 4: click “Start” under the “NH4-N” interface to get the real-time measurement of the pH、NH4+、NH4-N and temperature, check that the NH4+ is close to 100mg/L, then clean the sensor with distilled water or deionized water, wipe it dry and put it into the beaker containing 10mg/L ammonium ion electrode standard solution, check that the NH4+ is close to 10mg/L to verify that the two-points calibration is successful.
 +86 19984844080
 sales@yosemitech.com
 Bldg,25,CECEP Industrial Park, No. 18 Dongchang Rd. Suzhou Industrial Park, Jiangsu Province,China 215126, China